
¶ Light up all kinds of LED
If Hello World is the beginning of religious programming for software programmers, Blink Led is the same for hardware programmers. All hardware programming starts with lighting a lamp.
So we started to prepare our hardware, and I was using a beta version 1.3. It is sufficient for the purposes of this chapter, and is common to subsequent boards. Therefore, we pay attention to progressive, first a lamp, and then a row of lights.

¶ Use repl
Go into repl mode
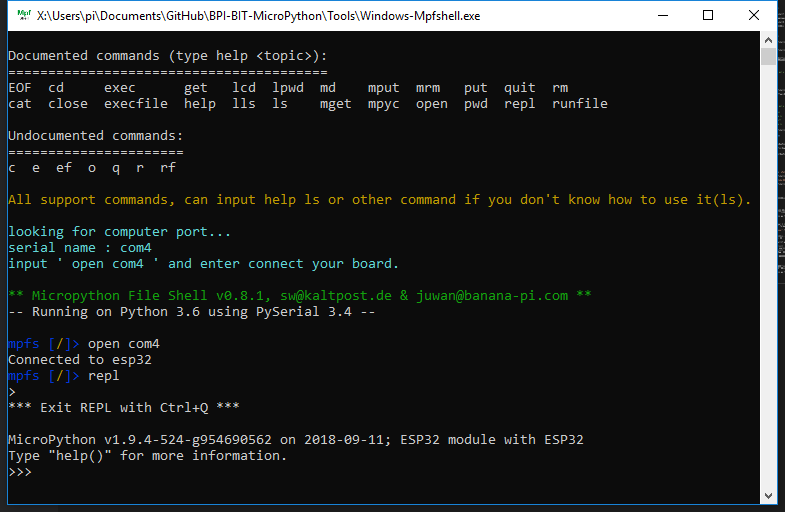
input (after selecting the text to copy, right-click in the black box and paste)
from machine import Pininput again
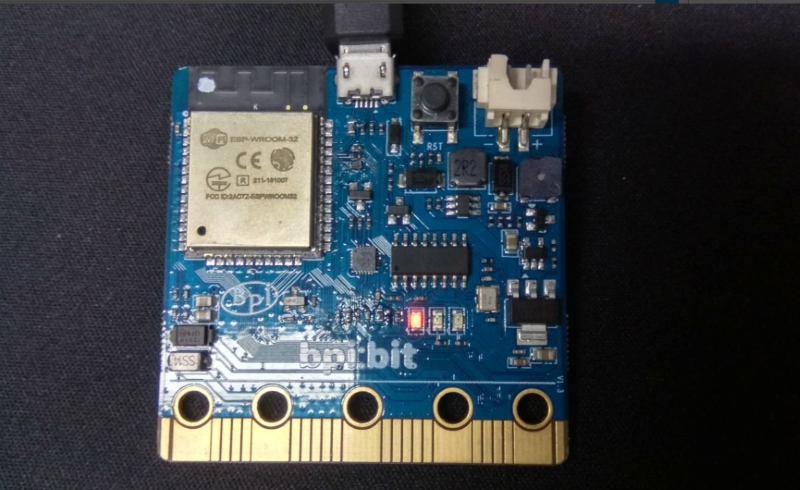
Pin(18, Pin.OUT).value(1)
Make sure that one of the lights on the panel is lit
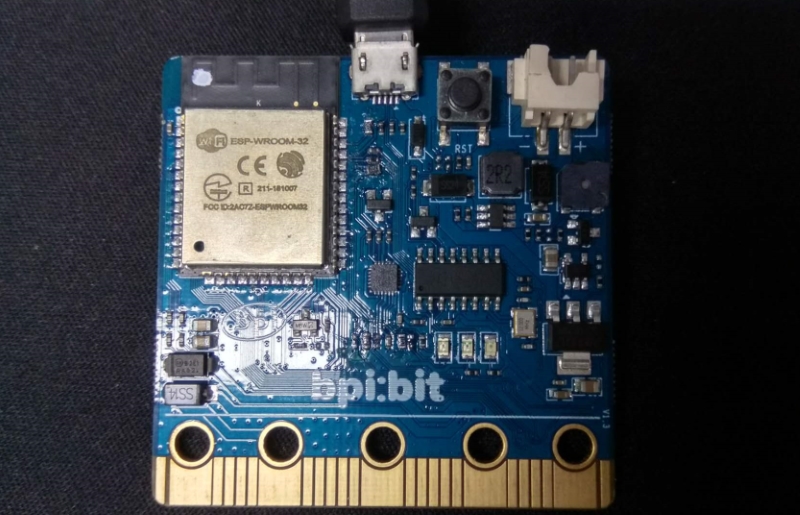
Just to make sure it’s the light we’re controlling,input
Pin(18, Pin.OUT).value(0)
That’s when you see it go out
¶ Use mian.py
Prepare the following code into the main.py file. Unlike the previous one, this effect is continuous. It will make the light on and wait for one second before it goes off.
from machine import Pin
import time
led = Pin(18, Pin.OUT) # get a led on gpio 18.
print('turn on')
led.value(1) # turn on
print('sleep 1s')
time.sleep(1) # sleep 1s
print('turn off')
led.value(0) # turn off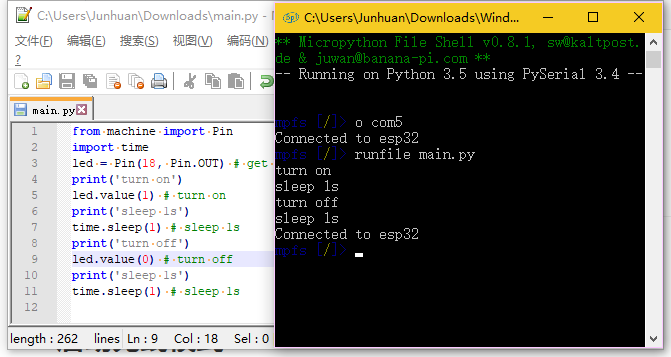
If you feel the effect is not obvious, you can write an infinite loop to see the effect. Please use Ctrl + C to stop, otherwise you cannot continue the operation.
from machine import Pin
import time
led = Pin(18, Pin.OUT) # get a led on gpio 18.
while True:
   print('turn on')
   led.value(1) # turn on
   print('sleep 1s')
   time.sleep(1) # sleep 1s
   print('turn off')
   led.value(0) # turn off
   print('sleep 1s')
   time.sleep(1) # sleep 1s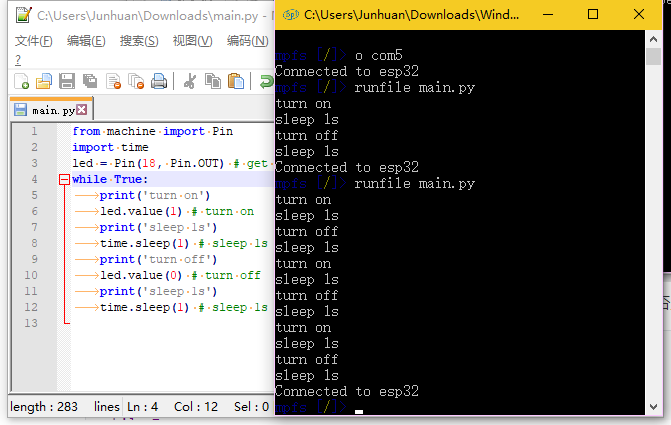
¶ Learn the LED light array (NeoPixel) on the light panel
Ready the following code into main.py (\HowToCode\ 01.leds \rgb_lattice. Py)
from pixel import Pixel
View = Pixel()
RGB = (10, 10, 10)
View.LoadXY(2, 2, RGB)
View.Show()Execute using runfile main.py.
At this point, the quick start of the tutorial has ended, from the lower toolbar back to the home page or read the material on the right, learn more basic, advanced, application and so on.