pi@pi-desktop:~$ lsblk
NAME         MAJ:MIN RM   SIZE RO TYPE MOUNTPOINTS
loop0          7:0    0 102.3M  1 loop /snap/lxd/37562
loop1          7:1    0  69.2M  1 loop /snap/core22/1624
loop2          7:2    0  61.9M  1 loop /snap/core24/1350
loop3          7:3    0  94.4M  1 loop /snap/lxd/30134
loop4          7:4    0  33.7M  1 loop /snap/snapd/21761
mmcblk0      179:0    0  58.2G  0 disk
└─mmcblk0p1  179:1    0  14.8G  0 part /
mmcblk0boot0 179:32   0     4M  1 disk
mmcblk0boot1 179:64 0 4M 1 disk¶ Basic usage
¶ Expanding the Partition Space
-
Since the
ddcommand only burned the img file to the eMMC, leaving only 15GB of unused space, it needs to be manually expanded. -
Execute the command
lsblkto view the partition structure:You can see that the eMMC is
mmcblk0. Execute the command:sudo growpart /dev/mmcblk0 1Upon success, you will see something like:
CHANGED: partition=1 start=32768 old: size=31083487 end=31116254 new: size=241663967 end=241696734This successfully modifies the partition table.
-
Execute the command
sudo resize2fs /dev/mmcblk0p1To maximize the partition size.
-
Check
lsblk
NAME         MAJ:MIN RM  SIZE RO TYPE MOUNTPOINTS
loop0          7:0    0 41.6M  1 loop /snap/snapd/25939
loop1          7:1    0 69.2M  1 loop /snap/core22/1624
loop2          7:2    0 94.4M  1 loop /snap/lxd/30134
loop3          7:3    0 33.7M  1 loop /snap/snapd/21761
mmcblk0      179:0    0 58.2G  0 disk
└─mmcblk0p1  179:1    0 58.2G  0 part /
mmcblk0boot0 179:32   0    4M  1 disk
mmcblk0boot1 179:64   0    4M  1 disk
¶ Development environment setup
¶ Development environment basics
1、First, install a comfortable editor.
Open Terminal and update your system software list, then update Vim.
sudo apt update
sudo apt install vim2、Changing Software Sources
If you are unable to access or experience slow access to the default Ubuntu software source, please switch to another software park.(Before making changes, it is best to use the cp command to back up the original Ubuntu source to prevent modification errors.)
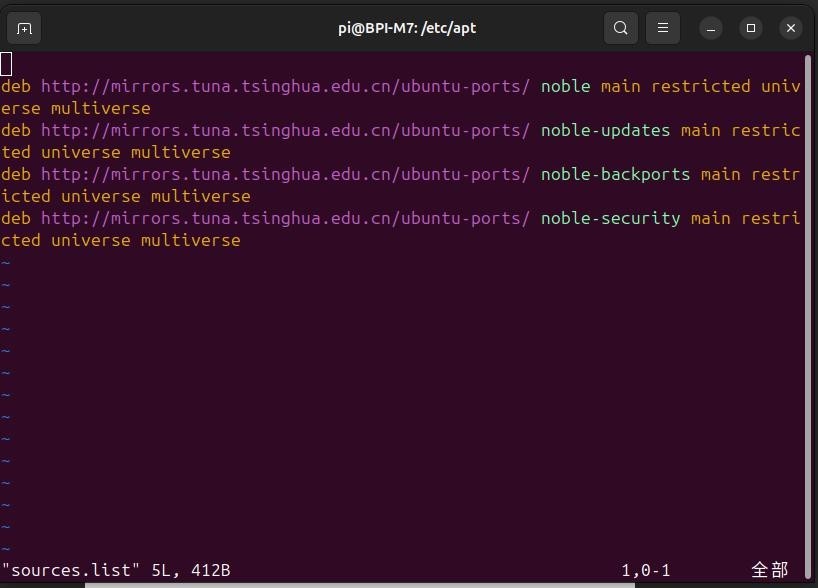
cd /etc/apt
sudo vim sources.list
Press the "I" key to enter the editing state, and then replace the source you want to change. (The following use cases use the Tsinghua University source in China.)
deb https://mirrors.tuna.tsinghua.edu.cn/ubuntu/ focal main restricted
universe multiverse
deb https://mirrors.tuna.tsinghua.edu.cn/ubuntu/ focal-updates main
restricted universe multiverse
deb https://mirrors.tuna.tsinghua.edu.cn/ubuntu/ focal-backports main
restricted universe multiverse
deb https://mirrors.tuna.tsinghua.edu.cn/ubuntu/ focal-security main
restricted universe multiverseAfter replacement, press the "ESC" key and enter ":wq" to exit.
3、Installing the necessary tools: From Git to Docker
Install git
sudo apt update # I just changed the repository, remember to update again
sudo apt install git x11-xserver-utils udevInstall Docker(Use Tsinghua source image to accelerate)
# Add the Docker key
curl -fsSL https://download.docker.com/linux/ubuntu/gpg | sudo gpg --dearmor -o /usr/share/keyrings/docker-archive-keyring.gpg
# Configure the Tsinghua Docker image
echo "deb [arch=$(dpkg --print-architecture) signed-by=/usr/share/keyrings/docker-archive-keyring.gpg] https://mirrors.tuna.tsinghua.edu.cn/docker-ce/linux/ubuntu plucky stable" | sudo tee /etc/apt/sources.list.d/docker.list > /dev/null
# Install Docker core components
sudo apt update
sudo apt install docker-ce docker-ce-cli containerd.io4、Create a workspace
During development, there are many files, so create a dedicated folder to manage them:
mkdir -p ~/ros2_ws/src # Create a nested folder
cd ~/ros2_ws/src # Enter the working directoryThen download the core resources:
# Rockchip NPU Toolkit
git clone https://github.com/rockchip-linux/rknn-toolkit2.git
# Pretrained Model Library
git clone https://github.com/airockchip/rknn_model_zoo.git
# Gemini2 Camera SDK
git clone https://github.com/orbbec/pyorbbecsdk.git
# ROS2 Docker Image Configuration
git clone https://github.com/bladewin-smith/ros_docker_image.git5、Fixing compilation freezes
Many people experience system freezes when compiling large files. This is due to insufficient memory allocated to the USB device.
Permanent solution:
cd /etc/default
sudo vim grub
Find this line: GRUB_CMDLINE_LINUX_DEFAULT="quiet splash" and replace it with: GRUB_CMDLINE_LINUX_DEFAULT="quiet splash usbcore.usbfs_memory_mb=128"
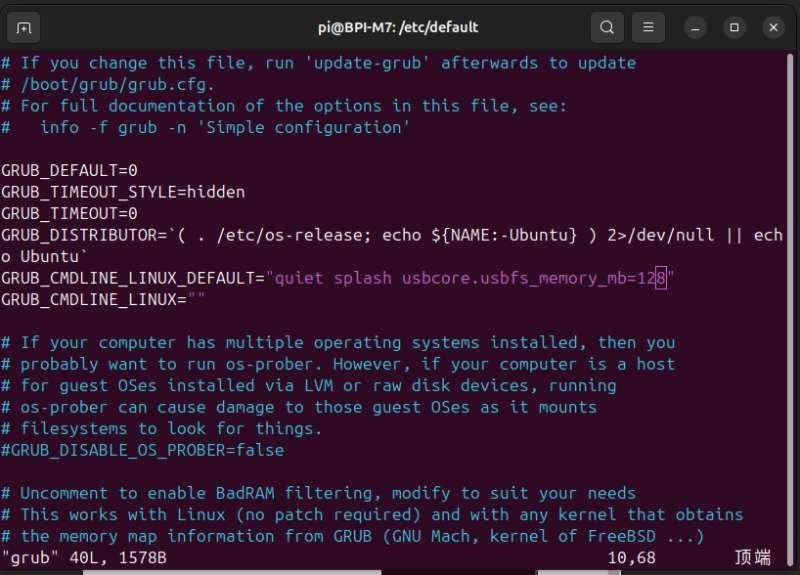
Save and exit, then update the configuration:
sudo update-grubReboot the development board and verify the changes took effect using this command: (If it displays 128, it should be correct.)
cat /sys/module/usbcore/parameters/usbfs_memory_mb¶ Docker Container and SDK Deployment
Use Docker to isolate the environment, avoid dependency conflicts, and deploy the camera SDK and NPU toolchain simultaneously.
1、 Build a dedicated Docker image
First, grant the current user permission to access the display interface (otherwise, the Qt window won’t open later):
xhost +local: # Execute on the host machine to allow the local container to access the display.Then import and tag the image:
cd ~/ros2_ws/src/ros_docker_image/image
docker load -i ros_humble.tar # Import the base image
docker tag ros:humble my_gemini2_camera # Give the image a memorable name, such as "My Gemini2Camera Environment." Navigate to the directory containing the Dockerfile and build the custom image (this step may take 10-20 minutes; ensure a clear network connection):
cd ~/ros2_ws/src/ros_docker_image # Switch to the directory containing the Dockerfile.
docker build -t my_gemini2_camera . # Note the trailing "."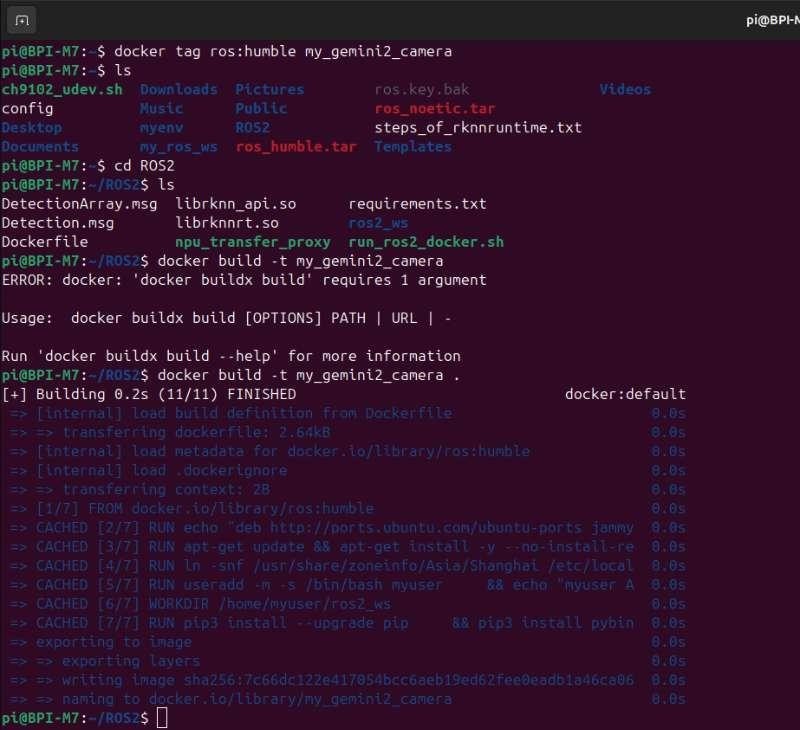
2、Start the container
Use the existing script to start the container (the parameters are important, don’t make any mistakes):
./run_ros2_docker.sh devcamnpu # devcamnpu is a default parameter corresponding to the camera + NPU configuration.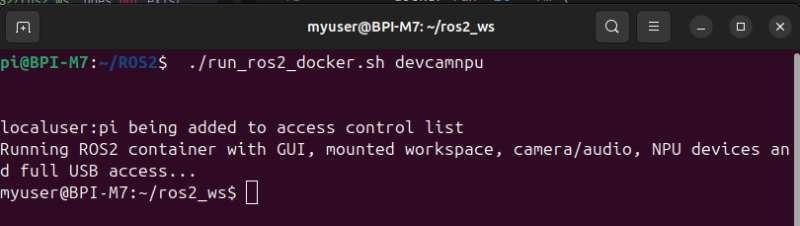
Docker Tips:
Exit a container: Type exit View all containers (including stopped ones): docker ps -a
Reenter a stopped container: docker start -ai container ID (remember to execute xhost +local: on the host machine before reentering)
Open a new terminal and enter a running container: docker exec -it container ID /bin/bash
3、Deploy pyorbbecsdk: Make the development board "recognize" the camera.
First, execute the following commands in the host terminal:
cd ~/ros2_ws/src/pyorbbecsdk
export PYTHONPATH=$PYTHONPATH:$(pwd)/install/lib/
sudo bash ./scripts/install_udev_rules.sh
sudo udevadm control --reload-rules && sudo udevadm triggerThen, enter the container and deploy the Gemini2 camera SDK:
cd src/pyorbbecsdk # Enter the SDK directory
python3 -m venv ./venv # Create a virtual environment to isolate Python dependencies
source venv/bin/activate # Activate the virtual environment (required, otherwise dependencies won't be found)
pip3 install -r requirements.txt # Install dependency packagesCompile and install the SDK:
mkdir build # Create a build directory
cd build
cmake -Dpybind11_DIR=`pybind11-config --cmakedir` .. # Configure compilation parameters
make -j4 # Compile with 4 threads for speed
make install # Install to the systemKey operation: Execute these two commands each time you re-enter the container, otherwise the camera program will report an error:
cd src/pyorbbecsdk # Change to the SDK directory
export PYTHONPATH=$PYTHONPATH:$(pwd)/install/lib/ # Tell the system where the SDK is installed4、Configuring the RKNPU: Getting the NPU Running
The RK3588’s NPU is a performance core, requiring manual toolchain deployment.
First, activate the virtual environment (skip this if you’ve already done so):
source src/pyorbbecsdk/venv/bin/activateInstall the RKNN toolkit (make sure to match the RK3588’s arm64 architecture and Python version):
cd rknn-toolkit2/rknn-toolkit2
pip install -r packages/arm64/arm64_requirements_cp310.txt && pip install packages/arm64/rknn_toolkit2-2.3.2-cp310-cp310-manylinux_2_17_aarch64.manylinux2014_aarch64.whl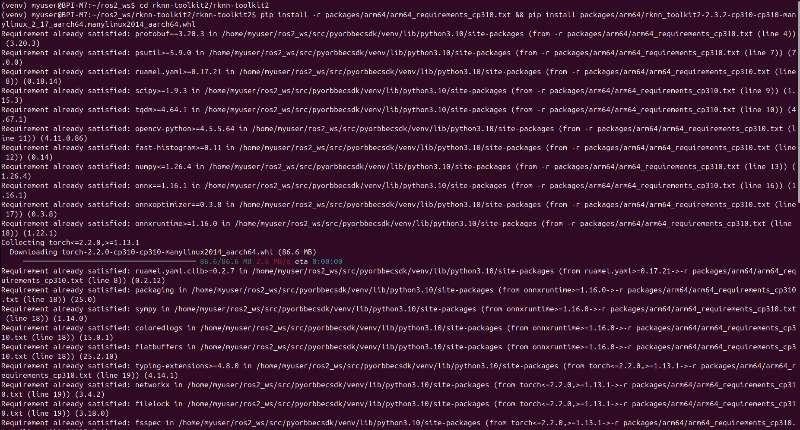
Verify that the installation is successful: Enter Python* interactive mode and enter from rknn.api import RKNN. If no error is reported, it means it is OK.

Deploy the libraries used by the NPU runtime:
cd rknn-toolkit2/rknpu2 # Enter the NPU runtime directory
sudo cp runtime/Linux/rknn_server/aarch64/usr/bin/* /usr/bin/
sudo cp runtime/Linux/librknn_api/aarch64/librknnrt.so /usr/lib
sudo chmod +x /usr/bin/rknn_server /usr/bin/start_rknn.sh
/usr/bin/restart_rknn.sh
restart_rknn.sh # Restart the NPU service
Compile the official examples (to verify NPU functionality):
cd src/rknn_model_zoo
./build-linux.sh -t rk3588 -a aarch64 # Compile examples for RK3588Pitfall: When running the example, the library file may not be found. Solution:
cd /usr
sudo mkdir lib64 # Create the lib64 directory
sudo ln -s /usr/lib/librknnrt.so /usr/lib64/librknnrt.so # Create a symbolic link
¶ From Camera Streaming to Model Inference
The environment is set up, time to get hands-on! We’ll share 3 practical examples, covering everything from basic to advanced.
1、 Real-time Object Detection: Recognizing Objects with a Gemini2 Camera + YOLOv5
This example allows you to see the camera’s live feed and outline detected objects (such as people, cars, phones, etc.) on the screen.
Steps:
Replace the example folder: Copy src/ros_docker_image/object_detection to src/pyorbbecsdk/examples/ (overwriting the original folder).
Activate the environment and configure the path:
source src/pyorbbecsdk/venv/bin/activate
cd src/pyorbbecsdk
export PYTHONPATH=$PYTHONPATH:$(pwd)/install/lib/Run the program:
cd examples/object_detection
python object_detection_sw_align.pyRegarding custom models: If you want to use your own trained YOLO model, simply modify two parameters in object_detection_sw_align.py:

coco.names: Replace with your class name file
models/yolov5s.onnx: Replace with your model file path
2、Multi-stream Data Acquisition: Simultaneously Acquire Color, Depth, and Infrared Images
The Gemini2 camera supports multiple image output types. This example displays three images simultaneously:
source src/pyorbbecsdk/venv/bin/activate
cd src/pyorbbecsdk
export PYTHONPATH=$PYTHONPATH:$(pwd)/install/lib/
cd src/pyorbbecsdk/examples
python multi_streams.pyAfter running, three windows will pop up, displaying the color image (RGB), the depth image (black and white, the brighter the image, the closer the image), and the infrared image (recognizable at night). This is suitable for applications such as 3D reconstruction and gesture recognition.
3、 Model Conversion: Converting ONNX Models to RKNN Format for NPU Compatibility
Your self-trained model needs to be converted to RKNN format to run on an NPU. Taking the YOLO model as an example:
source src/pyorbbecsdk/venv/bin/activate
cd src/pyorbbecsdk
export PYTHONPATH=$PYTHONPATH:$(pwd)/install/lib/
cd src/rknn_model_zoo
export PYTHONPATH=/home/myuser/ros2_ws/rknn_model_zoo:$PYTHONPATH # Configure Model Library Path
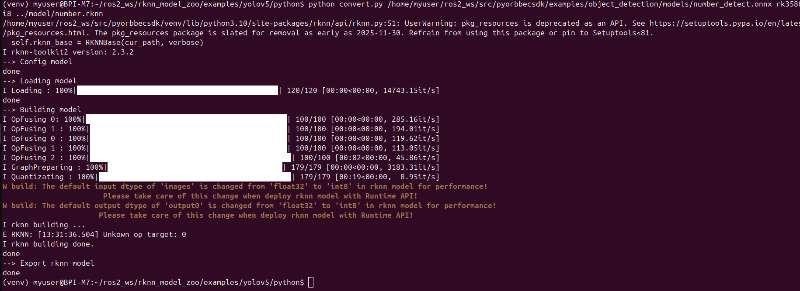
cd examples/yolov5/python # Conversion Command: Input ONNX model path, target device (rk3588), quantization method (i8), output path
python convert.py
/home/myuser/ros2_ws/src/pyorbbecsdk/examples/object_detection/models/numbe r_detect.onnx rk3588 i8 ../model/number.rknnAfter successful conversion, you can use the NPU to accelerate inference, which is faster than CPU. 5-10 times!
¶ Possible problems
1、 Qt interface cannot be opened, error "could not connect to display"
Cause: Docker container does not have permission to access the host machine’s display.
Solution:
-
Execute
xhost +local:in the host machine terminal. -
Execute
xhost +local:again after entering Docker.
2、 Camera device not found, error "No device found"
Cause: USB device permission or driver issue.
Solution:
-
Simple and brute-force method: Restart the development board.
-
Elegant solution: Exit Docker → Start OrbbecViewer (contact Orbbec customer service for details) → Close Viewer → Re-enter Docker, execute
export PYTHONPATH=$PYTHONPATH:$(pwd)/install/lib/and then run the program.
3、 Rknn module not found, error "ModuleNotFoundError: No module named 'rknn'"
Cause: RKNN toolkit not installed correctly or incorrect path.
Solution:
cd src/rknn-toolkit2

# Reinstall, using Tsinghua University mirror for acceleration

pip3 install rknn-toolkit2/packages/arm64/rknn_toolkit2-2.3.2-cp310-cp310-manylinux_2_17_aarch64.manylinux2014_aarch64.whl --timeout 120 --retries 10 -i https://pypi.tuna.tsinghua.edu.cn/simple