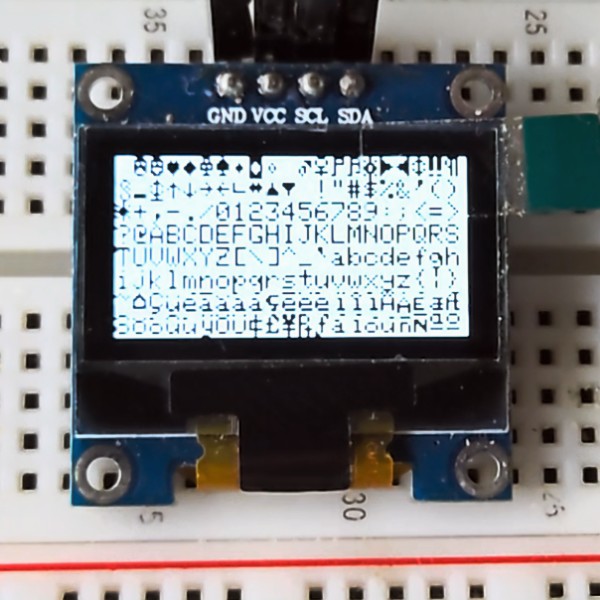
本节以 ssd1306 驱动库和 framebuf 库为例, 介绍如何下载并安装 CircuitPython 库。
-
在新页面中打开 Adafruit CircuitPython 库文档页面。
-
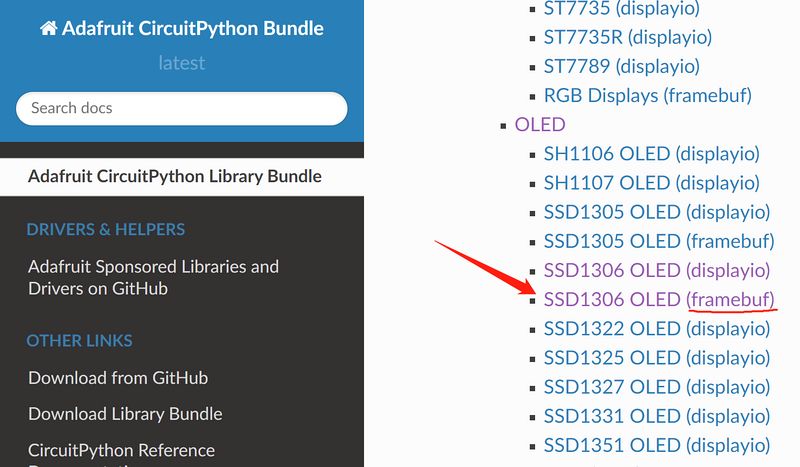
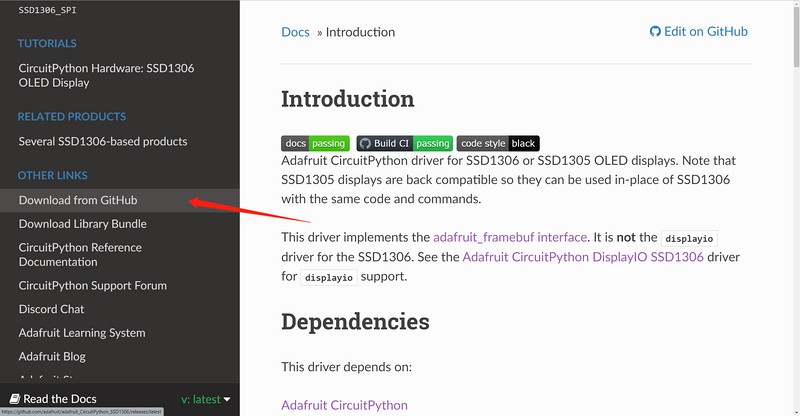
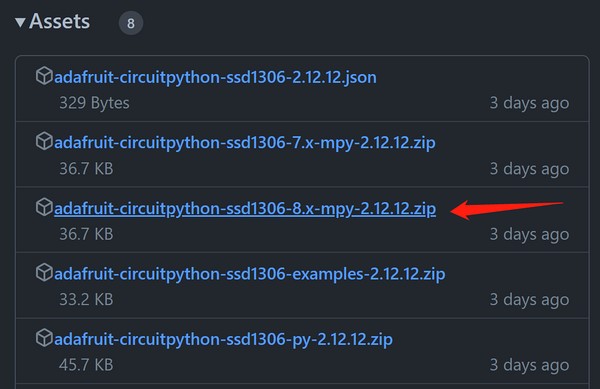
在页面中找到并打开 SSD1306 OLED (framebuf) 项目,然后 单击左侧的 Download from GitHub,跳转到其 GitHub Releases 页面。单击 adafruit-circuitpython-ssd1306-8.x-mpy-2.12.12.zip,将其下载到 本地。
-
返回 Adafruit CircuitPython 库文档页面,找到并打开 Framebuf Module 项目,然后单击左侧的 Download from GitHub, 跳转到其 GitHub Releases 页面。单击 adafruit-circuitpython-framebuf-8.x-mpy-1.4.14.zip,将其下载到 本地。> 下载最新版本即可。
-
解压下载的两个压缩包,其内部目录 结构如下:
├─examples
│  ├─xxx.py
│  ├─xxx.py
│  └─......
├─lib
│  ├─a.mpy
│  ├─b.mpy
│  └─......
└─requirements
   ├─a
   │ └─requirements.txt
   ├─b
   │ └─requirements.txt
   └─......
-
examples 目录中包含一些库的使用示例;lib 目录中扩展名为
.mpy的文件就是库文件。 requirements 目录中的 requirements.txt 文件记录了 各库文件所依赖的其他必要库文件。其中一部分 已包含在 CircuitPython 固件中;未包含的库 需要另行下载并安装。例如, adafruit_ssd1306 库中的图形和文字绘制方法 都依赖 adafruit_framebuf 库,因此我们也在 步骤 3 中将它下载到本地。 -
使用 adafruit_framebuf 库时,还需要把其 examples 目录中的 font5x8.bin 文件复制到 CIRCUITPY 磁盘根目录, 也就是 code.py 文件所在的位置。它是显示 文字时所需的字体文件。
-
将一块采用 I2C 协议的 SSD1306 OLED 显示模块连接到开发 板。
接线参考
ssd1306 BPI-PicoW-S3 GND
GND
VCC
3V3
SCL
GP0
SDA
GP1
-
编辑 code.py 文件并输入以下代码,驱动 显示模块输出图形和字符。把代码中 变量
bgColor的值改为 1,即可将显示背景设为 白色、图形设为黑色。两个库的文档中提供了 API 参考, 结合示例程序可以快速理解其用法, 并开始使用 ssd1306 显示模块。
import board
import busio
import adafruit_ssd1306
import time

i2c = busio.I2C(board.GP0, board.GP1)
display = adafruit_ssd1306.SSD1306_I2C(128, 64, i2c, addr=0x3C)
bgColor=0

display.fill(bgColor)
for i in range(0,display.height,4):
    for j in range(0,display.width,4):
        display.pixel(j, i, not bgColor)
    display.show()

display.fill(bgColor)
for i in range(0,display.height,4):
    display.hline(0, i,display.width, not bgColor)
    display.show()

display.fill(bgColor)
for i in range(0,display.width,8):
    display.vline(i, 0,display.height, not bgColor)
    display.show()

display.fill(bgColor)
for i in range(0,display.height,4):
    display.line(0, 0, display.width, i, not bgColor)
    display.line(display.width, display.height, 0, display.height-i, not bgColor)
    display.show()

display.fill(bgColor)
for i in range(0,display.width//2,4):
    display.circle(display.width//2, display.height//2, i, not bgColor)
    display.show()

display.fill(bgColor)
for i in range(0,display.height,16):
    for j in range(0,display.width,16):
        display.rect(j, i, 12, 12, not bgColor)
        display.show()

for i in range(0,display.height,16):
    for j in range(0,display.width,16):
        display.fill_rect(j+2, i+2, 8, 8, not bgColor)
        display.show()

display.fill(bgColor)
display.text("Hello", 0, 24, not bgColor, font_name='font5x8.bin', size=2)
display.show()
time.sleep(0.25)
display.text("World!", 0, 40, not bgColor, font_name='font5x8.bin', size=3)
display.show()
time.sleep(0.25)
display.text(">>>", 60, 0, not bgColor, font_name='font5x8.bin', size=4)
display.show()
time.sleep(1)

display.fill(bgColor)
char_width = 6
char_height = 8
chars_per_line = display.width // 6
for i in range(255):
    x = char_width * (i % chars_per_line)
    y = char_height * (i // chars_per_line)
    display.text(chr(i), x, y, not bgColor, font_name='font5x8.bin', size=1)
display.show()