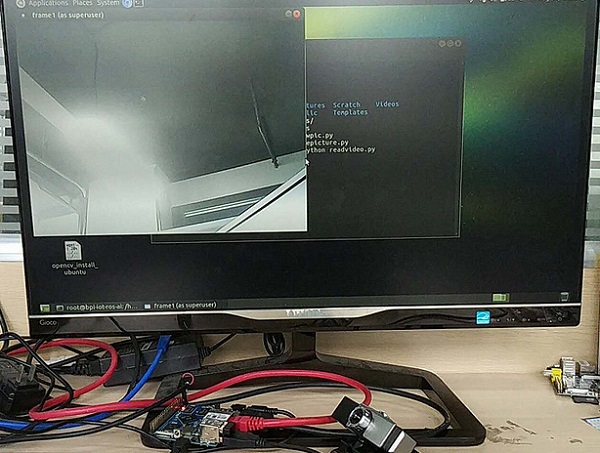
¶ 使用 Python 在 Banana Pi M2P(H3)上安装 OpenCV 3.4.x
本文以 Banana Pi BPI-M2+ 为测试平台,介绍如何在采用 H3 芯片的 BPI-M2P 上安装 OpenCV 3.4.x。
-
安装依赖包**
apt-get update apt-get install libprotobuf-dev libleveldb-dev libsnappy-dev libhdf5-serial-dev protobuf-compiler apt-get install libgflags-dev libgoogle-glog-dev liblmdb-dev apt-get install build-essential cmake pkg-config libjpeg-dev libtiff5-dev libjasper-dev libpng12-dev apt-get install libavcodec-dev libavformat-dev libswscale-dev libv4l-dev v4l-utils libxvidcore-dev libx264-dev ffmpeg apt-get install libgtk2.0-dev libatlas-base-dev gfortran python2.7-dev python3-dev checkinstall -
下载 OpenCV 代码
git clone https://github.com/opencv/opencv.git --branch 3.4.0 git clone https://github.com/opencv/opencv_contrib.git --branch 3.4.0 -
cmake OpenCV Code
cd <path>/opencv
mkdir build
cd build
cmake -D CMAKE_BUILD_TYPE=Release  -D CMAKE_INSTALL_PREFIX=/usr/local -D PYTHON_INCLUDE_DIR=/usr/bin/python -D OPENCV_EXTRA_MODULES_PATH=<path>/opencv_contrib/modules ..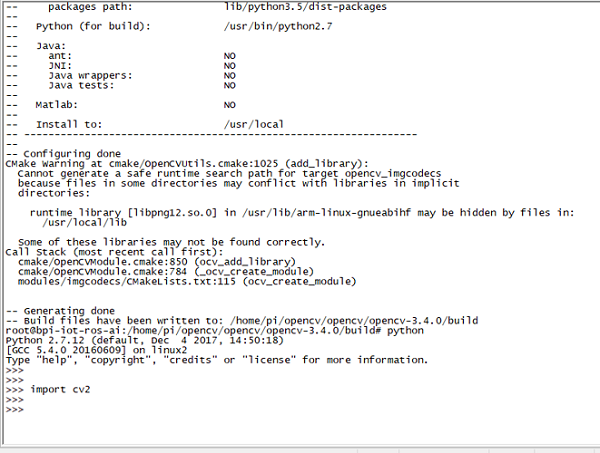
-
使用 Python 测试摄像头
python readvideo.pyimport numpy as np import cv2 cap = cv2.VideoCapture(1) #/dev/video1 while(True): # Capture frame-by-frame ret, frame = cap.read() # Our operations on the frame come here #gray = cv2.cvtColor(frame, cv2.COLOR_BGR2GRAY) # Display the resulting frame cv2.imshow('frame',frame) if cv2.waitKey(1) & 0xFF == ord('q'): break # When everything done, release the capture cap.release() cv2.destroyAllWindows()
FAQ:
如果你遇到这样的问题:
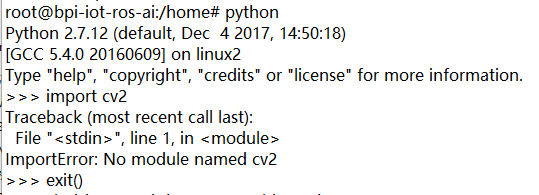
将“/usr/bin/python”替换为“/usr/bin/python2.7”,或执行“ln -s /usr/bin/python2.7 /usr/bin/python”。
论坛主题:http://forum.banana-pi.org/t/using-python-to-install-opencv-3-4x-on-banana-pi-m2p-h3/6657
¶ 相关文档
Banana Pi BPI-M2 Zero 使用 OpenCV:https://bluexmas.tistory.com/category/OS/Banana%20Pi%20%EF%BC%8FBPI-Bit?page=2