¶ BpiRouter OS — First-time Setup
¶ 1. Connect to the device
-
Connect your computer to the router’s LAN port with a cable (or join its default WiFi).
-
Open
https://192.168.100.1in a browser.-
The first time uses a self-signed certificate, so the browser shows a security warning once — click "proceed / continue". (This is the device’s local certificate; it is safe.)
-
¶ 2. Setup wizard (3 steps)
A brand-new device (no admin password set) enters the wizard automatically:
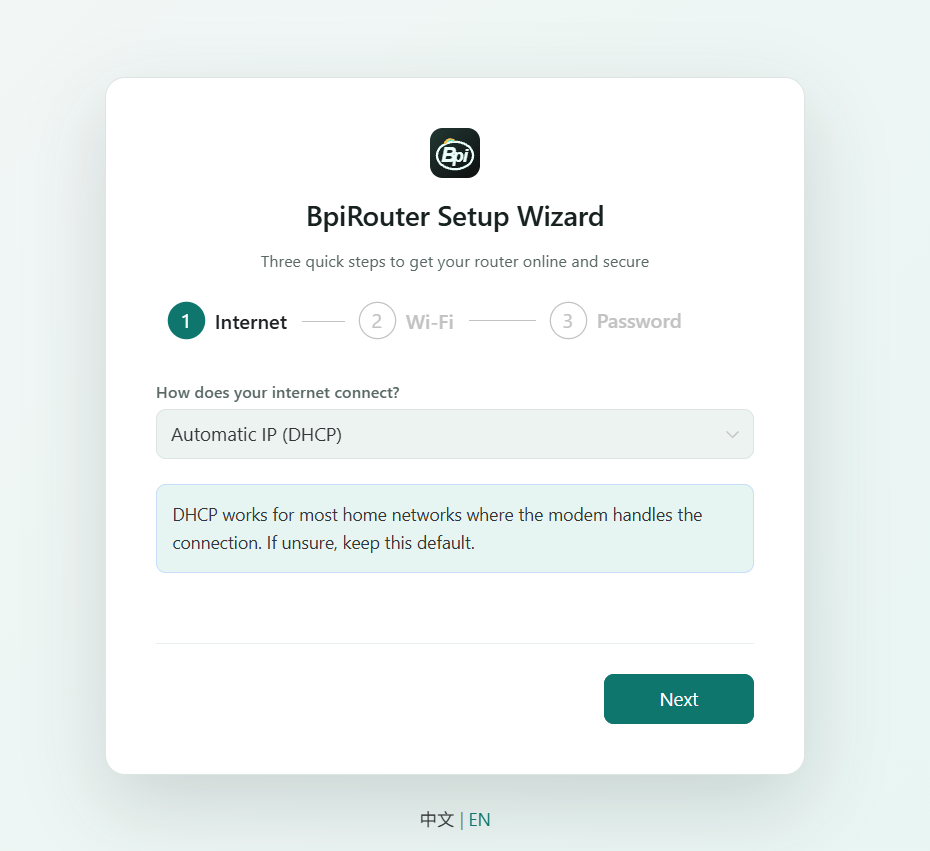
Step 1: Internet (WAN)
Choose your broadband connection type:
-
DHCP (automatic) — most common; the modem / upstream router assigns the IP.
-
Static IP — enter IP / netmask / gateway / DNS manually.
-
PPPoE — enter the account and password from your ISP.
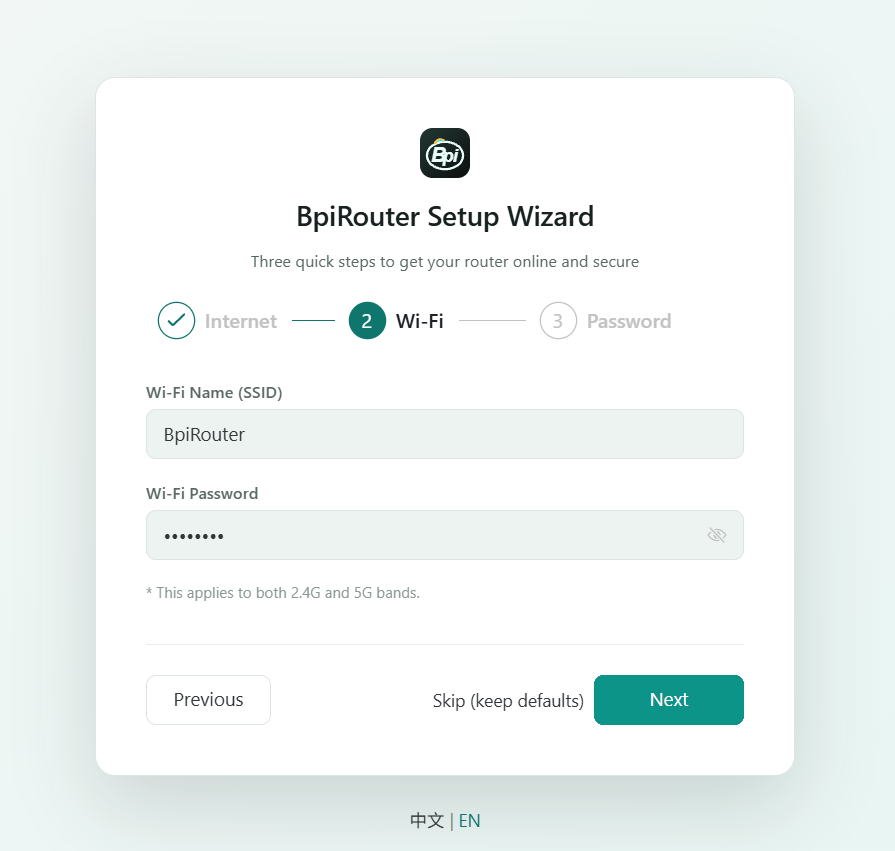
Step 2: Wireless(WiFi)
Set the WiFi name (SSID) and password.
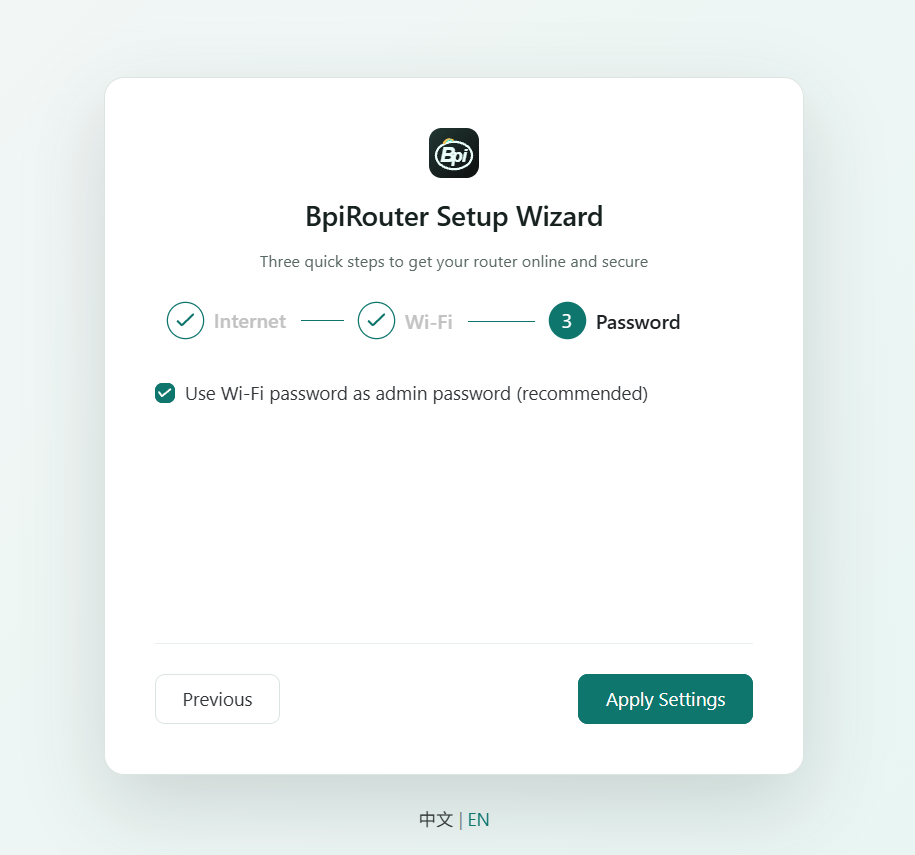
Step 3:Admin password
Set the password for the management console (≥ 8 characters).
When done, you are logged in to the dashboard automatically — no separate login needed.
¶ 3. What you can change later
Once inside, every setting can be adjusted anytime:
-
Network: WAN / LAN, IPv6, DHCP pool.
-
Wireless: multi-band, channel, encryption, country.
-
System: hostname, timezone & system clock, password, backup/restore, firmware upgrade.
-
Advanced: VPN, port forwarding, DMZ, firewall, DDNS, diagnostics, logs.
-
Users: add operator / viewer accounts and assign role permissions.
The top-right corner switches between English / Chinese and light / dark mode.
¶ 4. Frequently asked questions
Can not login 192.168.100.1?
Make sure your computer got an IP in the 192.168.100.x range from the router; or try prefixing the address with https://.
Forgot the password you just set?
Hold the device’s recovery button for ~5s while running to factory-reset and re-run the wizard. See [Recovery & Rescue].
The wizard didn’t appear, it went straight to login?
That means a password was already set (not a brand-new state). Log in with the set password; to return to the wizard, factory-reset first.
[← Home] · [Blashing Guide →] · [Recovery & Rescue →]